목차
pdf자료는 slieshar(https://www.slideshare.net/sungwookchoi5/nexus-helm-dockerhelm-repo)에서 보실수 있습니다.
안녕하세요. 이 글의 목표는 2가지 입니다.
1. nexus에 private helm 저장소 생성
2. nginx, springboot helm 차트 생성하고 업로드
1. 준비
- https적용된 nexus
- helm 설치
- helm install, upgrade, package명령어 이해
2. private helm repo 생성
helm hosted생성 페이지로 이동합니다.

① 톱니바퀴 버튼을 클릭합니다.
② Repositories메뉴로 이동합니다.
③ helm hosted을 찾아 클릭합니다.
helm 저장소 이름을 입력하고 생성버튼을 클릭하면 helm 저장소가 생성됩니다. 쉽죠!?


3. helm client에서 helm 저장소 추가
nexus공식 메뉴얼을 참고하여 nexus의 helm 저장소를 추가해봅시다. 추가할때 nexus 계정과 비밀번호가 필요합니다. helm url은 nexus웹 대시보드에서 확인할 수 있습니다.
공식메뉴얼: https://help.sonatype.com/repomanager3/formats/helm-repositories
helm repo add nexus <your helm repo url> --username admin --password <yourpassword>

정상적으로 추가되면 helm repo list 목록에 보입니다.

예제1) nginx helm 차트 업로드
1) 차트 생성
이제 생성한 nexus helm 저장소에 차트를 업로드해봅시다. 첫번째 예제는 nginx입니다.
helm create명령어로 차트 템플릿을 생성할 수 있습니다. 기본 템플릿은 nginx이미지가 설정되어 있습니다.
helm create nginxdemo
helm 차트 템플릿은 3개 요소가 필수로 있어야 합니다. templates디렉터리에 있는 yaml파일이 쿠버네티스에 실행될 리소스입니다.

nexus helm 저장소에 업로드하기 위해 차트를 압축해봅시다. helm package명령어로 쉽게 압축할 수 있습니다. 성공적으로 압축하면 tgz파일이 생성됩니다.
helm create nginxdemo

2) 차트 업로드
차트를 업로드할 때마다 nexus 관리자 계정과 비밀번호를 적어야합니다. 일일이 입력하는것을 피하고자 계정과 비밀번호를 환경변수로 설정합니다.
nexus_user=admin
nexus_password=<your_password>
그리고 nginxdemo.tgz파일을 nexus api를 이용해서 업로드합니다.
curl -F file=@nginxdemo-0.1.0.tgz \
-u $nexus_user:$nexus_password \
https://nexus.choilab.xyz/service/rest/v1/components?repository=custom-helm1
nexus대시보드를 보면 nginxdemo차트가 성공적으로 업로드된 것을 확인할 수 있습니다.

3) 업로드한 차트를 이용한 nginx 배포
먼저 업로드한 차트를 인식하기 위해 helm 저장소를 업데이트 합니다.
helm repo update
차트 검색이 되는지 확인합니다.
helm search repo nginxdemo

이제 helm install명령어로 nginx를 배포해봅시다. 잘 배포가 되었다면 pod 상태가 running입니다.
helm install -n test --create-namespace nginx nexus/nginxdemo

nginx index.html을 외부에서 접속하기 위해 서비스 유형을 nodeport로 변경해야 합니다. helm upgrade로 service 유형을 변경해봅시다. kubectl 명령어로 확인하면 서비스 유형이 nodeport로 변경이 되었습니다.
helm upgrade -n test --create-namespace nginx --set service.type=NodePort nexus/nginxdemo

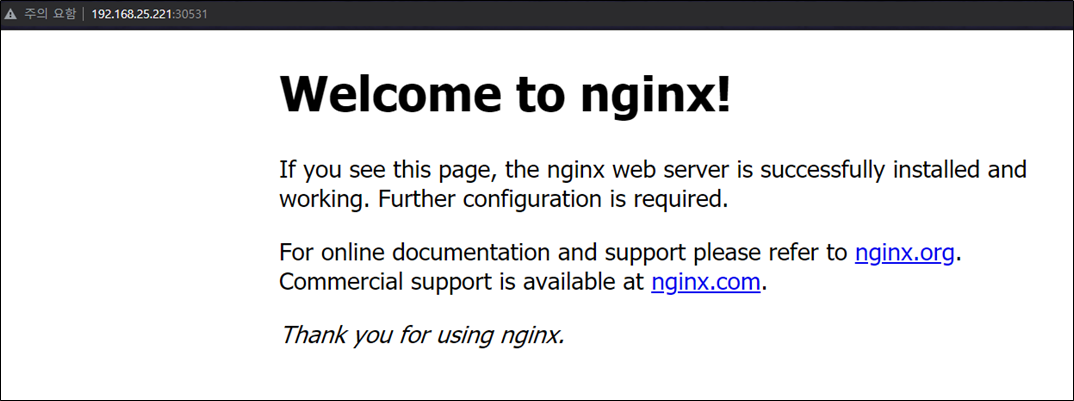
nodeport로 접속하면 nginx index.html페이지가 잘 보입니다.
예제2) springboot helm 패키지 업로드
이번에는 helm 기본 차트 템플릿을 조금 수정해서 springboot 차트를 만들어보겠습니다. springboot 컨테이너 이미지는 제가 만든 helloworld를 사용합니다.
docker image: https://hub.docker.com/r/choisunguk/demo-springboot
1) helm 차트 템플릿 생성
helm create 명령어로 기본 템플릿을 생성합니다.
helm create springboot
helm create springboot
2) 차트 수정
git history(https://github.com/choisungwook/portfolio/commits/master/kubernetes/helm/custom-springboot)를 참고하여 차트를 수정합니다. 수정해야 할 내용은 포트, liveness, readiness, values.yaml에서 이미지 정보입니다.
3) 차트 업로드
차트를 압축합니다.
helm package springboot
nexus api를 사용해서 차트를 업로드합니다.
curl -F file=@springboot-0.1.0.tgz \
-u $nexus_user:$nexus_password \
https://nexus.choilab.xyz/service/rest/v1/components?repository=custom-helm1
4) springboot 서비스 배포
업로드한 차트를 인식하기 위해 저장소를 업데이트합니다.
helm repo update
helm install명령어로 springboot 서비스를 생성합니다.
helm install -n test --create-namespace --set service.type=NodePort springboot-demo nexus/springboot
잘 생성되었다면 pod 상태가 running입니다.

웹 페이지에 접속(http://<ip>:<nodeport>/hello)하면 helloworld가 나옵니다.

'전공영역 공부 기록' 카테고리의 다른 글
| github action과 heroku를 이용한 스프링부트 자동화 빌드/배포 (0) | 2021.06.29 |
|---|---|
| 네트워크 part1 - Region과 AZ (0) | 2021.06.28 |
| 쿠버네티스 cert-manager로 let's encrypt 인증서 발급 (0) | 2021.06.09 |
| 쿠버네티스 클러스터 인증서 갱신 (3) | 2021.05.27 |
| kubectl로 cluster admin 생성 (0) | 2021.05.09 |